
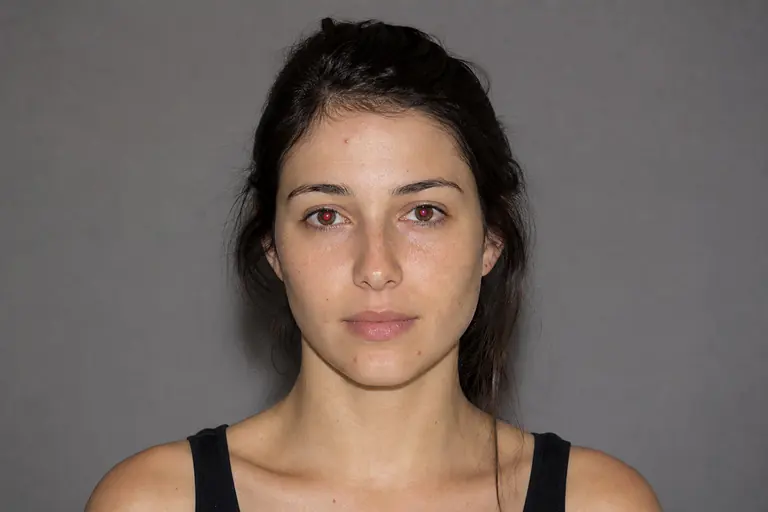
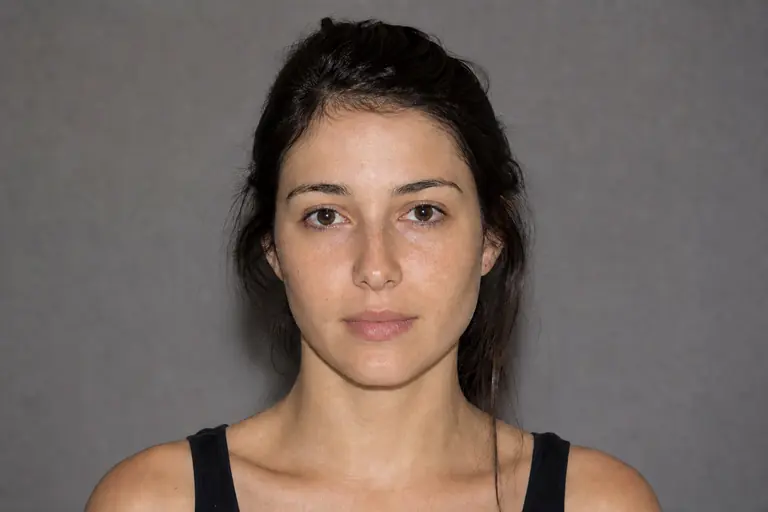
What this tool does
Healing Brush replaces a flaw with nearby texture while blending the new pixels into local color and light.
Remove distractions, repair details, reshape tone, and polish portraits non-destructively.
How to use it
- 01
Open an image and choose Healing Brush from the left toolbar.
- 02
Choose a clean source close to the flaw, use a brush slightly larger than the mark, and paint once across it.
- 03
Review the result at 100% zoom. If the change is too strong, undo it and repeat with a lower intensity.
What you can make
- Remove temporary skin blemishes
- Clean dust and sensor spots
- Repair small scratches and distractions
When to use it
Use Healing Brush for small blemishes, dust, sensor spots, scratches, and interruptions where surrounding texture should continue through the repaired area. It blends sampled texture with local tone, making it better than a flat paint stroke for skin, paper, walls, and other naturally varied surfaces.
Key controls
- Brush diameter
- Choose a brush only slightly larger than the defect. Oversized strokes borrow too much surrounding texture and can create soft patches.
- Texture context
- Work inside one consistent surface and avoid crossing strong edges, hairlines, seams, or high-contrast boundaries with a single stroke.
- Stroke length
- Use short clicks or strokes for isolated spots. Longer repairs should be split into sections so repeated texture and tonal smears remain easy to detect.
Worked example
For a portrait, duplicate the working layer before retouching. Remove temporary blemishes with strokes slightly larger than each mark, zoom out after every few corrections, and preserve permanent features such as moles and natural skin texture unless the brief specifically requests their removal.
Common mistakes
Using a large soft brush that removes natural texture with the defect.
Dragging across a strong edge and smearing two different surfaces together.
Retouching continuously at high zoom without reviewing the whole portrait.
Frequently asked questions
What is the difference between Healing Brush and Clone Stamp?
Healing blends borrowed texture with the destination tone, which is useful for small natural defects. Clone Stamp copies pixels more literally and is better when an edge, pattern, or exact structure must be reconstructed.
Why does the repaired area look blurry?
The brush may be too large, the stroke too long, or the sampled context unsuitable. Undo, reduce the diameter, and repair the area with several shorter strokes inside the same texture.